Configuring your Docusaurus site
Before publishing your Docusaurus website, you must update its configuration to ensure it displays the correct branding and functions correctly on your chosen domain. In this section, we’ll edit the docusaurus.config.js file to:
- Set your site title
- Define your site URL and base URL
- Update your favicon
Editing the configuration file
-
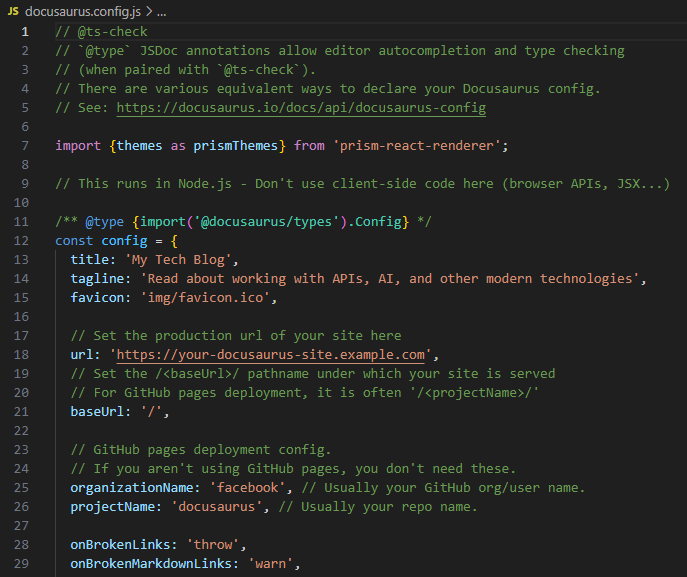
Open your Docusaurus project folder. You'll find the docusaurus.config.js file in the root directory.

-
Open docusaurus.config.js in your preferred code editor (such as Visual Studio Code). This file holds all the main configuration settings for your site.
-
Locate the title property in the configuration object. Change it to your desired site name. This title appears in the browser tab and header.
title: 'My Website' -
Find the tagline property in your configuration and update its value to your chosen tagline. This text appears directly below the title on the home page.
tagline: 'Read about many cool things' -
Locate the favicon property and update it with the path to your favicon file. This icon appears in the browser tab.
favicon: 'img/favicon.ico' -
Find the url property and replace 'https://example.com' with the actual domain where your site will be live. This ensures that all generated links and paths reflect your final hosting environment.
-
Look for the navbar section inside
themeConfig.themeConfig:
/** @type {import('@docusaurus/preset-classic').ThemeConfig} */
({
// Replace with your project's social card
image: 'img/docusaurus-social-card.jpg',
navbar: {
title: 'My Site',
logo: {
alt: 'My Site Logo',
src: 'img/logo.svg',
},
...- Modify the
titleto match your website's name. - Change the default logo by replacing img/logo.svg with your own logo file.
- Modify the
-
Locate the footer property and customize the follter according to your preferences. For example, you can:
footer: {
    style: 'light',
    links: [
      {
        title: 'Docs',
        items: [
          {
            label: 'Tutorial',
            to: '/docs/intro',
          },
        ],
      },
      {
        title: 'Community',
        items: [
          {
            label: 'Stack Overflow',
            href: 'https://stackoverflow.com/questions/tagged/docusaurus',
          },
          {
            label: 'Discord',
            href: 'https://discordapp.com/invite/docusaurus',
          },
...- Replace the existing links with your own.
- Delete any links that you don't want to display.
- Disable the footer by setting it to footer: false or removing it entirely from the configuration file.
-
Customize or remove the GitHub link in the navbar.
{
    href: 'https://github.com/facebook/docusaurus',
    label: 'GitHub',
    position: 'right',
},
After updating the configuration, start the local server by running npm run start and preview your site. Ensure that the homepage reflects the changes you made.
Customizing the homepage
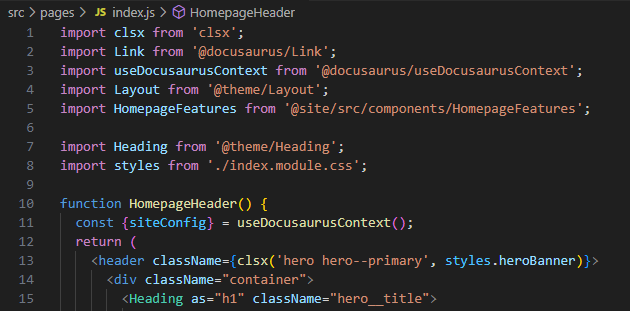
Docusaurus provides a flexible structure for customizing your homepage. The two main files you'll need to modify are src/pages/index.js (the main homepage component) and src/components/HomepageFeatures/index.js (the components section).
Understanding the homepage structure
Your homepage consists of two main parts:
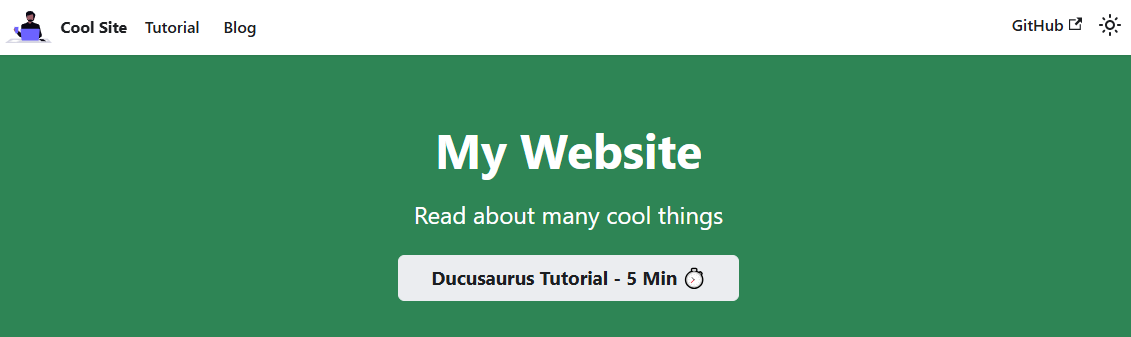
- Header section: Contains your site title, tagline, and a call-to-action button.
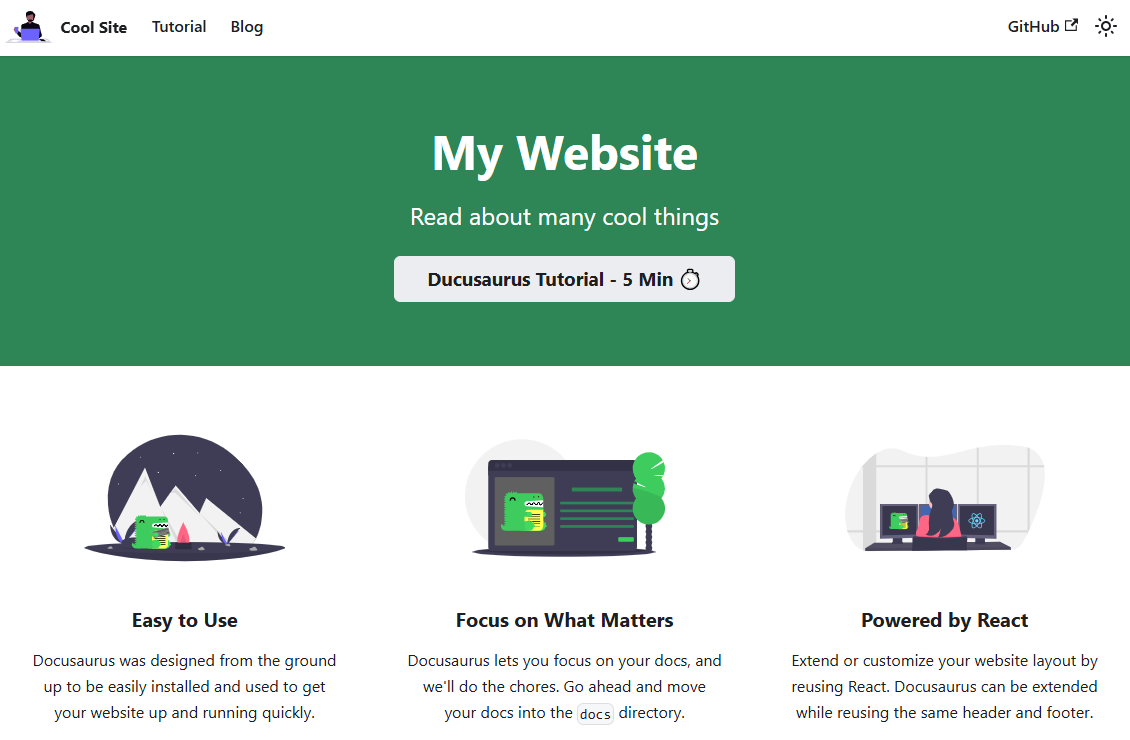
- Features section: Displays a grid of features with icons and descriptions.
Customizing the header section
-
Navigate to the src/pages/index.js file.
-
Find the Link section.
<Link
className="button button--secondary button--lg"
to="/docs/intro">
Docusaurus Tutorial - 5 Min ⏱️
</Link> -
Modify the call-to-action button:
- Change the default text (
Docusaurus Tutorial - 5 Min). - Modify the destination URL in the to field.
- Change the default text (
Customizing the features section
-
Navigate to the src/components/HomepageFeatures/index.js file.
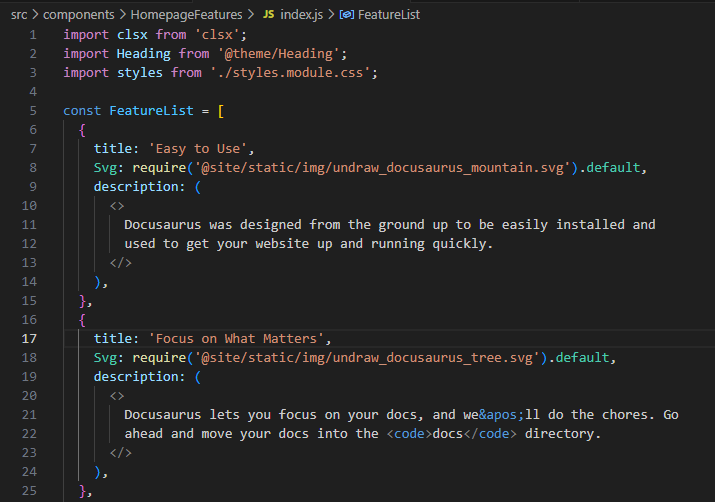
-
Replace the SVG images:
- Add your custom image files to the static/img/ directory.

- Update the import paths accordingly.
- Update the title and descriptions for your new image files.

-
Adjust the column layout:
- Change col col--4 to modify column widths. For example, you can specify col col--6 for two columns.
    function Feature({Svg, title, description}) {
        return (
            <div className={clsx('col col--6')}>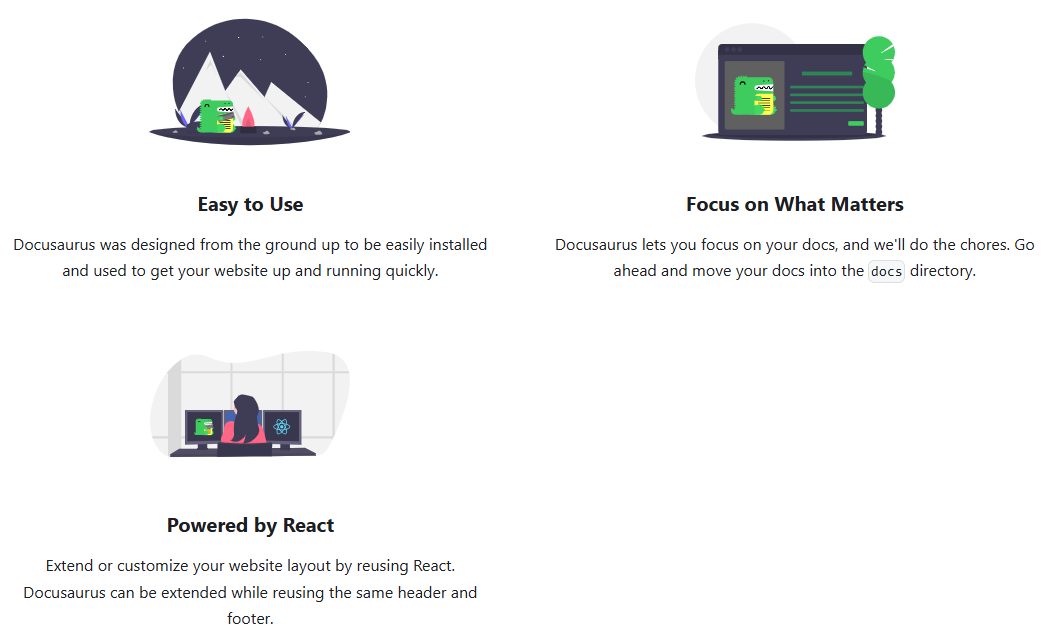
Customizing styles
Docusaurus uses Infima as its underlying CSS framework. You have multiple options to customize your website:
-
Global CSS Site-wide styling through custom CSS files
-
CSS Modules Component-scoped styles
-
CSS-in-JS Through libraries like styled-components (requires additional setup)
-
Tailwind CSS Utility-first styling (requires additional setup)
In this tutorial, we'll focus on the first approach - site-wide styling using custom CSS files.
-
Find your global CSS file at src/css/custom.css. This is where you'll customize colors and other global styles.
-
Locate the CSS rule for :root and update the color variables as needed. You can use the tool available at Docusaurus Infima Styling to define your color scheme. Simply specify the primary color, and the tool will automatically generate all other shades for you. For example:
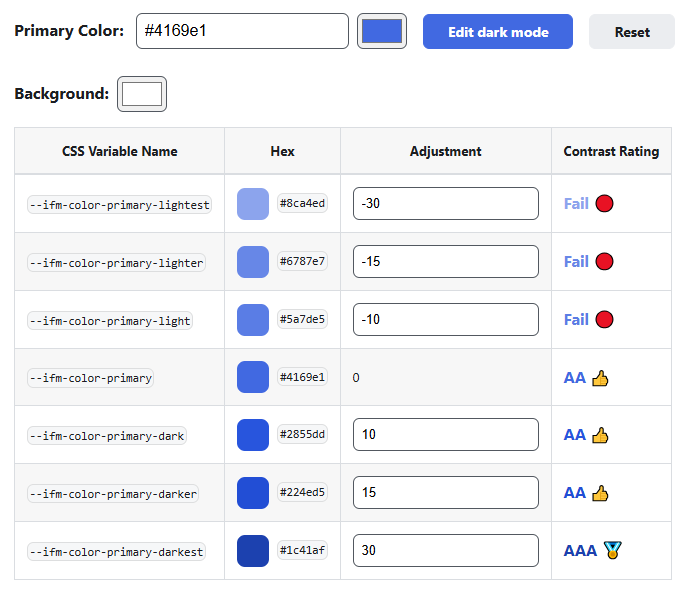
After generating the CSS styles, copy them and replace the corresponding variables in src/css/custom.css.
:root {
--ifm-color-primary: #4169e1; /* Your primary brand color */
--ifm-color-primary-dark: #3a5ecc;
--ifm-color-primary-darker: #3457bf;
--ifm-color-primary-darkest: #2a479d;
--ifm-color-primary-light: #5479e3;
--ifm-color-primary-lighter: #6889e6;
--ifm-color-primary-lightest: #7c99e9;
If you want to update styles for both light and dark modes, you also need to replace the styles for the dark mode.
/* Dark mode adjustments */
[data-theme='dark'] {
--ifm-color-primary: #6889e6;
--ifm-color-primary-dark: #5479e3;
--ifm-color-primary-darker: #4169e1;
--ifm-color-primary-darkest: #3a5ecc;
--ifm-color-primary-light: #7c99e9;
--ifm-color-primary-lighter: #90a9ec;
--ifm-color-primary-lightest: #a4b9ef;
--ifm-background-color: #1e2125;
--docusaurus-highlighted-code-line-bg: rgba(0, 0, 0, 0.3);
}