Building and customizing your docs
This tutorial will guide you through the process of creating and customizing documentation within your Docusaurus website. We'll cover file structure, creating pages, controlling navigation (including both manually created sidebars and autogenerated sidebars), and leveraging markdown.
Prerequisites
- A Docusaurus website project (initialized using
npx create-docusaurus@latest my-website classicor a similar command). - Basic understanding of markdown syntax.
- Node.js and npm/yarn installed on your system.
Understanding core concepts
Before diving in, let’s clarify some key concepts:
-
Docs folder
The main directory for your documentation source files. Docusaurus automatically recognizes and processes files within this folder. -
Markdown files
Documentation content is primarily written in markdown files (.md or .mdx). MDX is markdown with inline JavaScript (React Components), offering even more power and flexibility. -
Sidebar
The sidebar provides navigation for your documentation. Docusaurus supports both manually configured sidebars and autogenerated sidebars.
Creating pages
A newly generated Docusaurus site typically includes several files and folders in the docs directory. Remove them, as we will build the documentation structure from scratch.

-
Create a new file with the .md extension in the docs directory (my-first-doc.md).
-
Add the following content to it:
---
id: my-first-doc
title: My First Document
sidebar_label: Getting Started
---
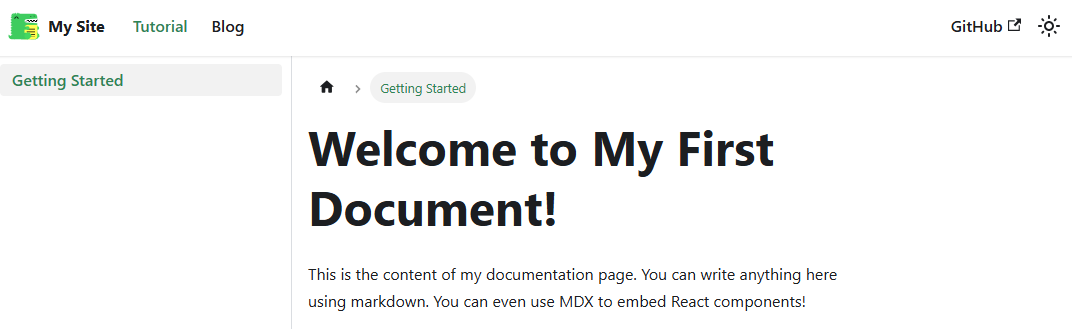
# Welcome to My First Document!
This is the content of my documentation page. You can write anything here using markdown. You can even use MDX to embed React components!-
id
This is the unique identifier. When linking to the article make sure that it matches, the article will be found. -
title
The title of the document. -
sidebar_label
Overrides the name to show on the sidebar.
-
-
Start your Docusaurus server by running
npm run startYour page should now appear in the navigation bar under the Tutorial tab.
-
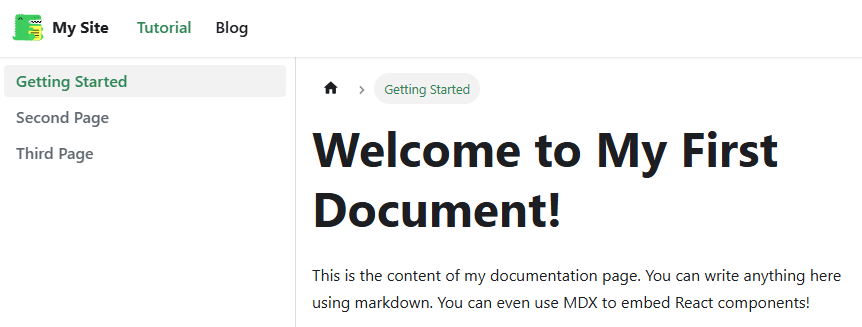
Now, repeat the process to create at least two more pages (e.g., my-second-doc.md and my-third-doc.md).
Sidebar configuration
Docusaurus offers two options for configuring sidebars:
-
Manual
Manual sidebars provide the most control over the structure but require managing lists manually, which can be time-consuming. -
Autogenerated
Autogenerated sidebars require no configuration, making them the easier option. In this tutorial, we'll focus on autogenerated sidebars for simplicity.
By default, Docusaurus uses autogenerated sidebars. To confirm this, check the sidebars.js file and ensure that the type: 'autogenerated' property is set.
 ...
 @type {import('@docusaurus/plugin-content-docs').SidebarsConfig}
 */
const sidebars = {
  // By default, Docusaurus generates a sidebar from the docs folder structure
  tutorialSidebar: [{type: 'autogenerated', dirName: '.'}],
  ...
This configuration automatically generates the sidebar from the existing document structure, eliminating the need for manual sidebar management.
Autogenerated sidebars work seamlessly with folder structures. Here's how to organize your documentation effectively:
-
Inside your docs folder, create a subfolder to categorize your content (e.g., my-first-folder).
-
Move Markdown files into these subfolders (e.g., the files you created above - my-second-doc.md and my-third-doc.md).
The autogenerated sidebar:
- Uses the folder name as the category title.
- Sorts items alphabetically by default.
- Uses each Markdown file's title as the page title.
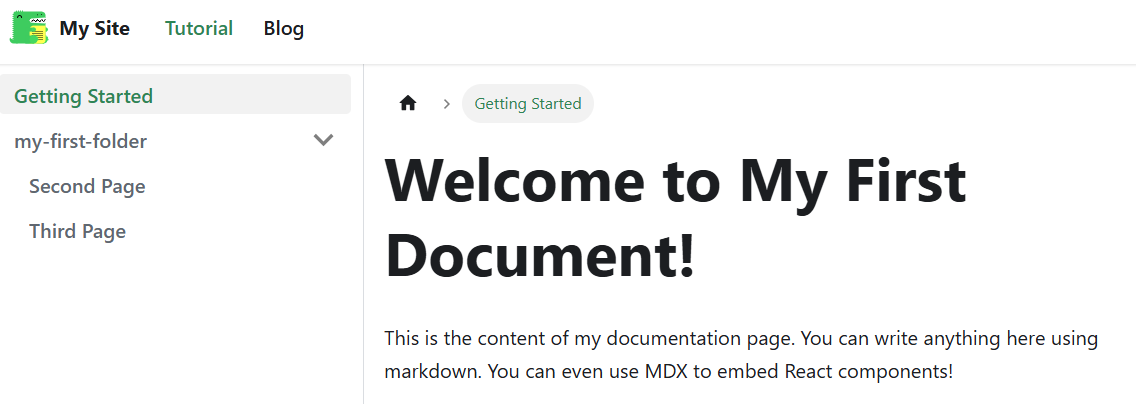
Using the folder name as the navigation item name may not always be ideal (as shown in the screenshot above, where my-first-folder appears as the navigation name). To customize it, place a category.json file inside the folder. This will change the name displayed in the sidebar to the one specified in this file.
{
  "label": "Custom Category Name"
}
