Setting Up DeepSeek on a Mac with Ollama & Chatbox AI
Summary
This tutorial will guide you through running the DeepSeek-R1 language model locally on a Mac using Ollama, a user-friendly LLM runtime. We’ll start with an overview of different ways to run large language models (LLMs) on your own machine, then focus on setting up Ollama on macOS. You’ll learn how to install Ollama, download (pull) a DeepSeek-R1 model, and run it. We’ll also show how to use Chatbox AI as a chat interface linked to Ollama.
Running Large Language Models (LLMs) locally can offer significant advantages in terms of privacy, control, and cost. Here are a few common ways to deply LLMs locally.
Dedicated applications
Applications designed for running LLMs locally with minimal setup. They usually offer a polished interface and support efficient model formats like GGML or GGUF.
- Ollama: Lightweight, optimized app for running various LLMs
- LM Studio: User-friendly GUI with model management and chat interface
- GPT4All: Simple application with bundled models
Command-line tools and libraries
Advanced users can download model files (from Hugging Face or similar) and run them with libraries or frameworks. This offers flexibility (you can script interactions, fine-tune models, etc.), but requires more setup and programming knowledge.
- llama.cpp: C++ implementation for running LLMs
- koboldcpp: Focused on story generation and creative writing
- Hugging Face Transformers: Powerful Python library for downloading, manipulating, and running AI models
Web UIs
Browser-based interfaces connecting to locally running models:
- Text Generation WebUI: Web interface for interaction with different models
- Jan.ai: Open-source ChatGPT alternative
Docker-based UIs
Some tools can be run via Docker. For example, you can pull a Docker image that includes a web interface and serve models through your browser. This approach provides a ChatGPT-like UI without needing to code, but it requires installing Docker and can use significant resources.
- Open WebUI: Self-hosted, open-source alternative to ChatGPT providing a web interface for interacting with various models
- Text Generation Web UI: Gradio-based application with a browser interface for running LLMs
In this tutorial, we'll focus on setting up DeepSeek-R1 using Ollama on a Mac. The combination of Ollama (for model management) with Chatbox AI (for user interface) offers an excellent balance of simplicity and functionality for most users running LLMs locally.
Installing Ollama
Ollama provides a seamless way to run open-source LLMs locally. It supports models like LLaMA 3, Qwen, and DeepSeek with minimal setup. Follow these steps to install Ollama on a Mac:
-
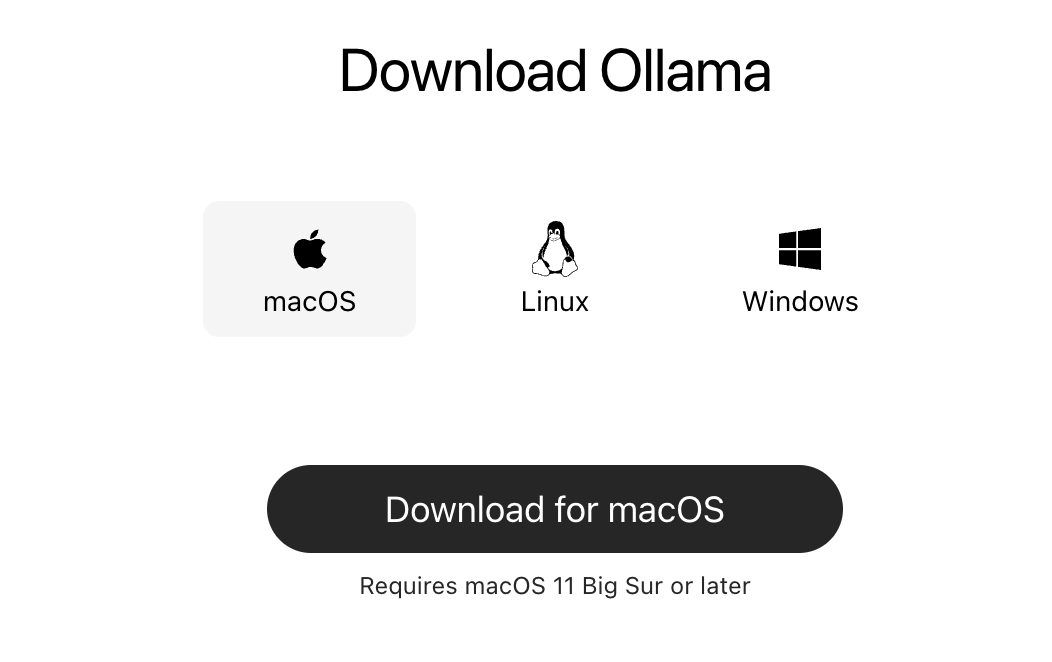
Go to the official Ollama download page and download the Download for macOS package.
-
Double-click the downloaded zip package to extract the DMG installation file.
-
Open the DMG file and drag Ollama to your Applications folder.
-
Double-click Ollama in the Applications folder, and follow the on-screen instructions to install it.
After successful installation, you'll see a small alpaca icon in your menu bar.

-
Verify the installation by opening Terminal and running:
$ ollama --version
ollama version is 0.6.2
On macOS, no special configuration is needed to start using Ollama. By default, it will store models in your home directory (under ~/.ollama), so ensure you have enough disk space for model files.
Checking system requirements
To use the 7B version of DeepSeek-R1, the following system requirements are recommended:
-
Memory (RAM): 8 GB of free RAM, though 16 GB or more system memory is recommended for smooth performance. While it's possible to run 7B models with as little as 4 GB, performance will be limited.
-
Processor / GPU: Apple Silicon (M1/M2/M3/M4) Macs. Ollama uses the neural engine or GPU by default, which significantly improves speed—often generating tens of tokens per second.
On Intel Macs, the model runs on the CPU, resulting in much slower performance. In that case, consider using a smaller model like
deepseek-r1:1.5bfor better response times. -
Disk space: The 7B model requires around 5 GB of disk space. It’s best to have at least 10 GB free to allow for overhead. By default, models are stored under
~/.ollama.
Installing DeepSeek-R1
In this tutorial, you’ll install DeepSeek-R1:7B—a distilled 7-billion-parameter model from the DeepSeek R1 series, fine-tuned for advanced reasoning, math, and coding tasks. The model is available through Ollama’s model library. Here’s how to get it:
-
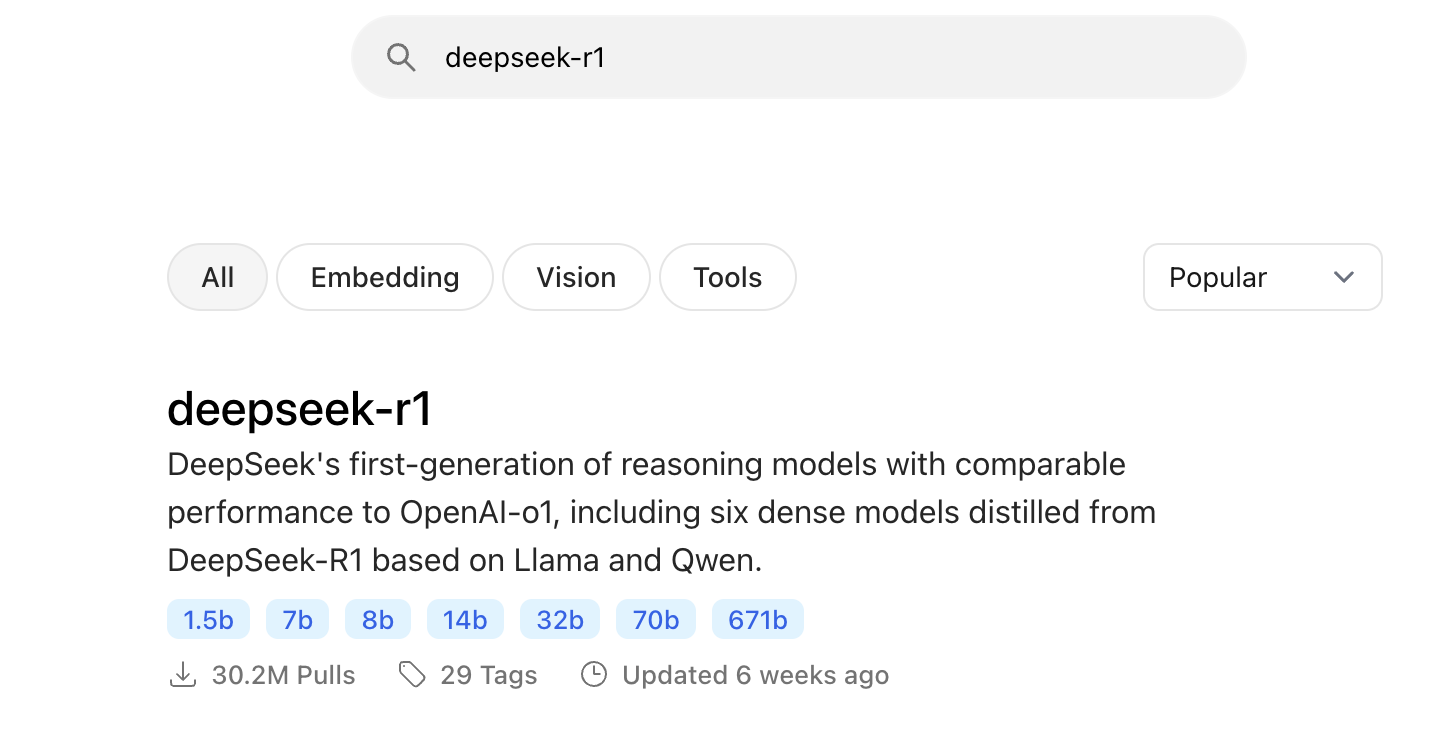
Return to the Ollama website and search for deepseek-r1.
-
Click the deepseek-r1 link to open the model's page.
-
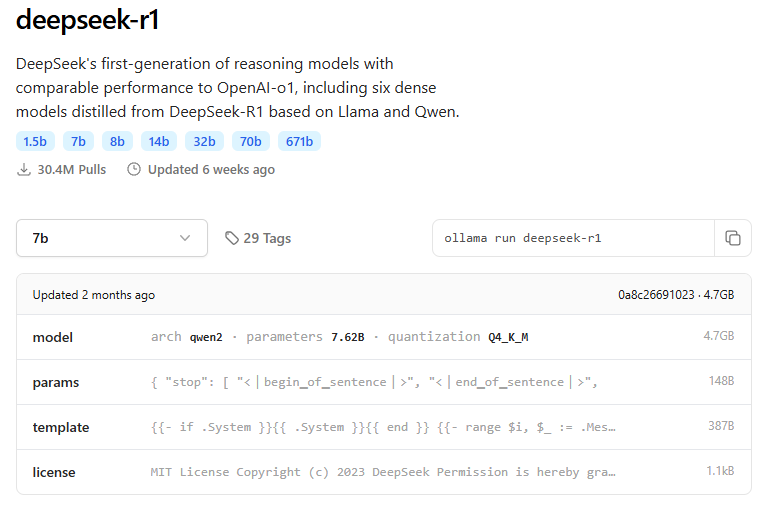
Locate the deepseek-r1:7b version. This is the one we’ll use in this tutorial. If your hardware supports it, you can also choose a larger version.
-
Click the Copy button next to the
ollama run deepseek-r1:7bcommand. -
Open Terminal, paste the copied command, and press Return.
$ ollama run deepseek-r1:7b
The model (approximately 4.7 GB) will start downloading and installing. This may take a few minutes, depending on your internet speed.
Running DeepSeek-R1 in Terminal
Once the installation is complete, the terminal will show a prompt where you can start interacting with the model. Just type a question or instruction, for example:
>>> What is DeepSeek-R1?
<think>
...
</think>

DeepSeek-R1 is an intelligent search engine developed by the Chinese company DeepSeek Inc. It utilizes deep
learning technology to enhance its search capabilities, providing more accurate and relevant results compared to
traditional search engines. The system is designed to understand and respond to complex queries, making it a
strong contender in the field of AI-powered search engines.
Don’t worry if there’s a short pause before the response appears—the model may be reasoning through the question in the background.
You can interact with the model as follows:
-
In Terminal, type your prompt and press Return to get a response.
-
To exit the session, type /bye and press Return.
-
To start a new session later, run the following command in Terminal:
$ ollama run deepseek-r1:7b
Installing Chatbox AI
While interacting with the model via Terminal is fine for testing, a chat interface makes it much more convenient to have conversations, revisit history, and use rich text features. Chatbox AI is a popular open-source desktop client that works with multiple AI models and APIs, including local models via Ollama. We'll use Chatbox AI as the front-end for DeepSeek-R1.
-
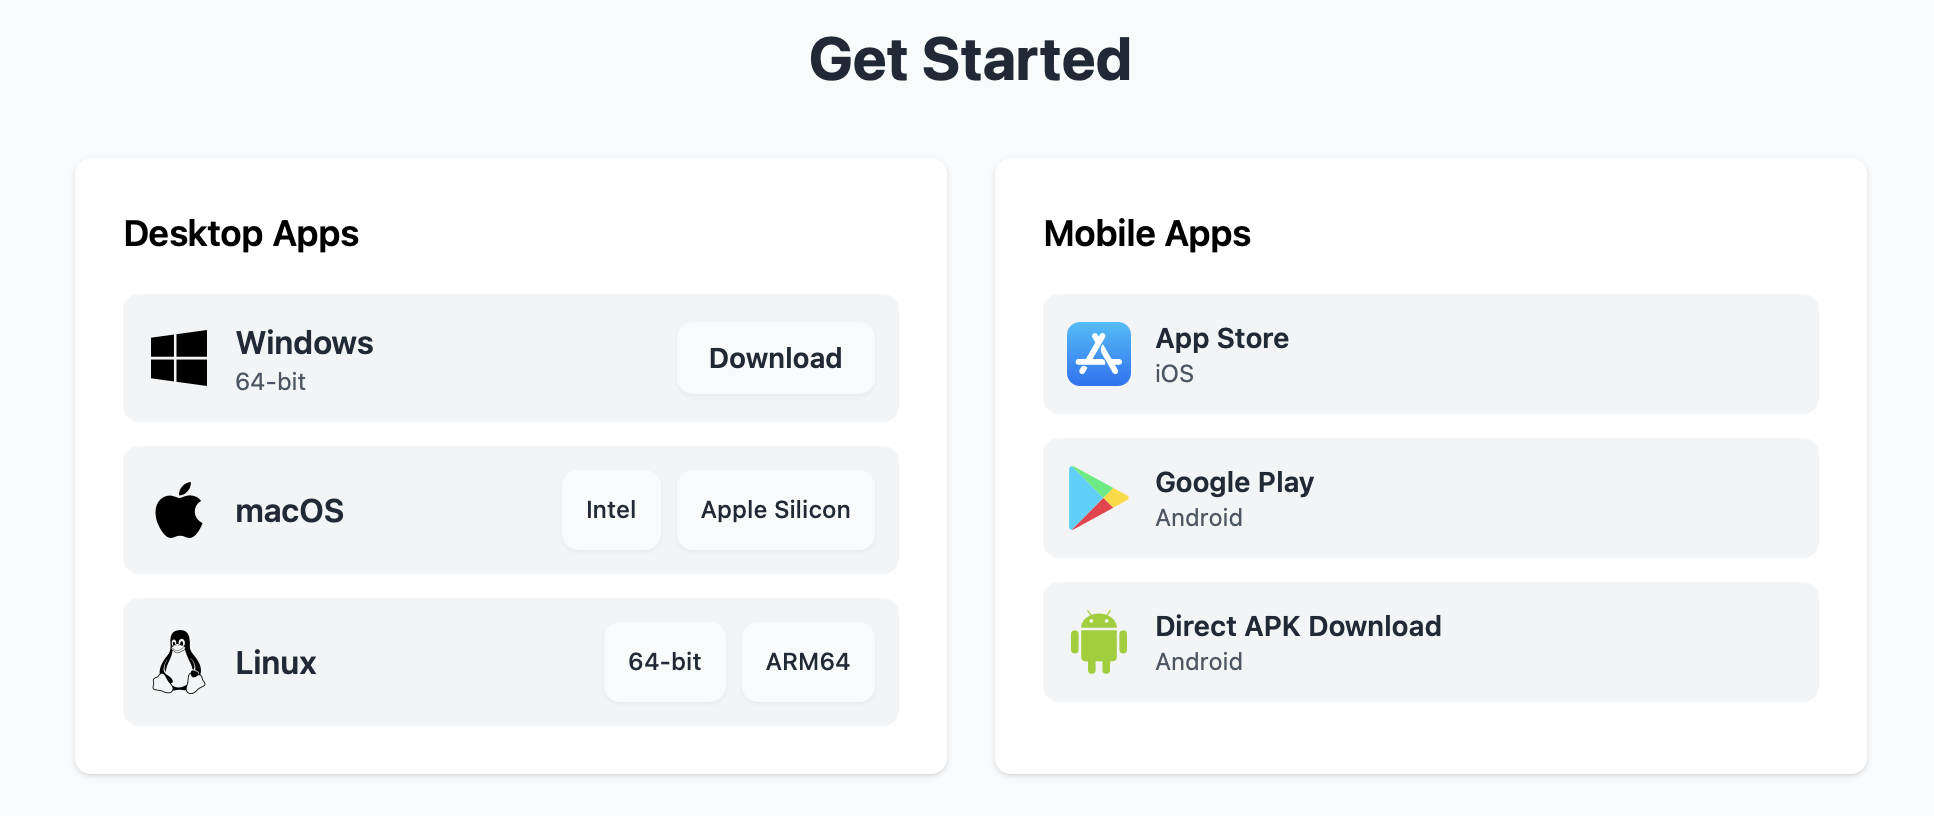
Go to the Chatbox AI website and download the version for your platform. For macOS, there are separate downloads for Intel and Apple Silicon Macs - make sure to choose the right one.
-
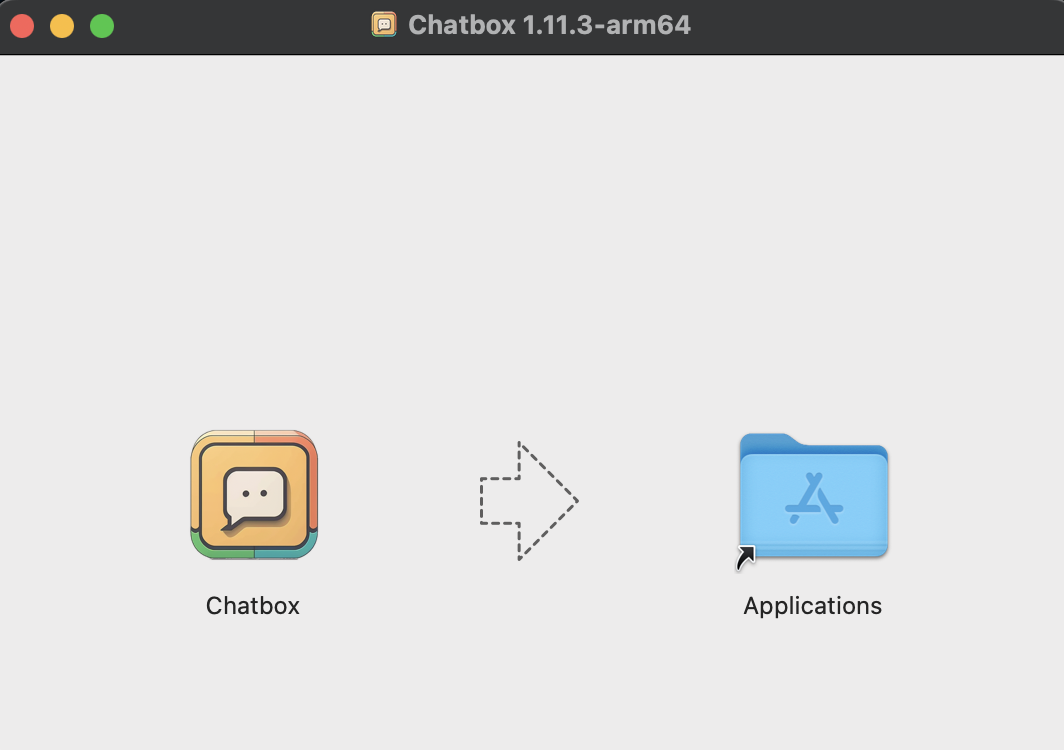
Open the downloaded DMG file and drag the Chatbox app to your Applications folder.
-
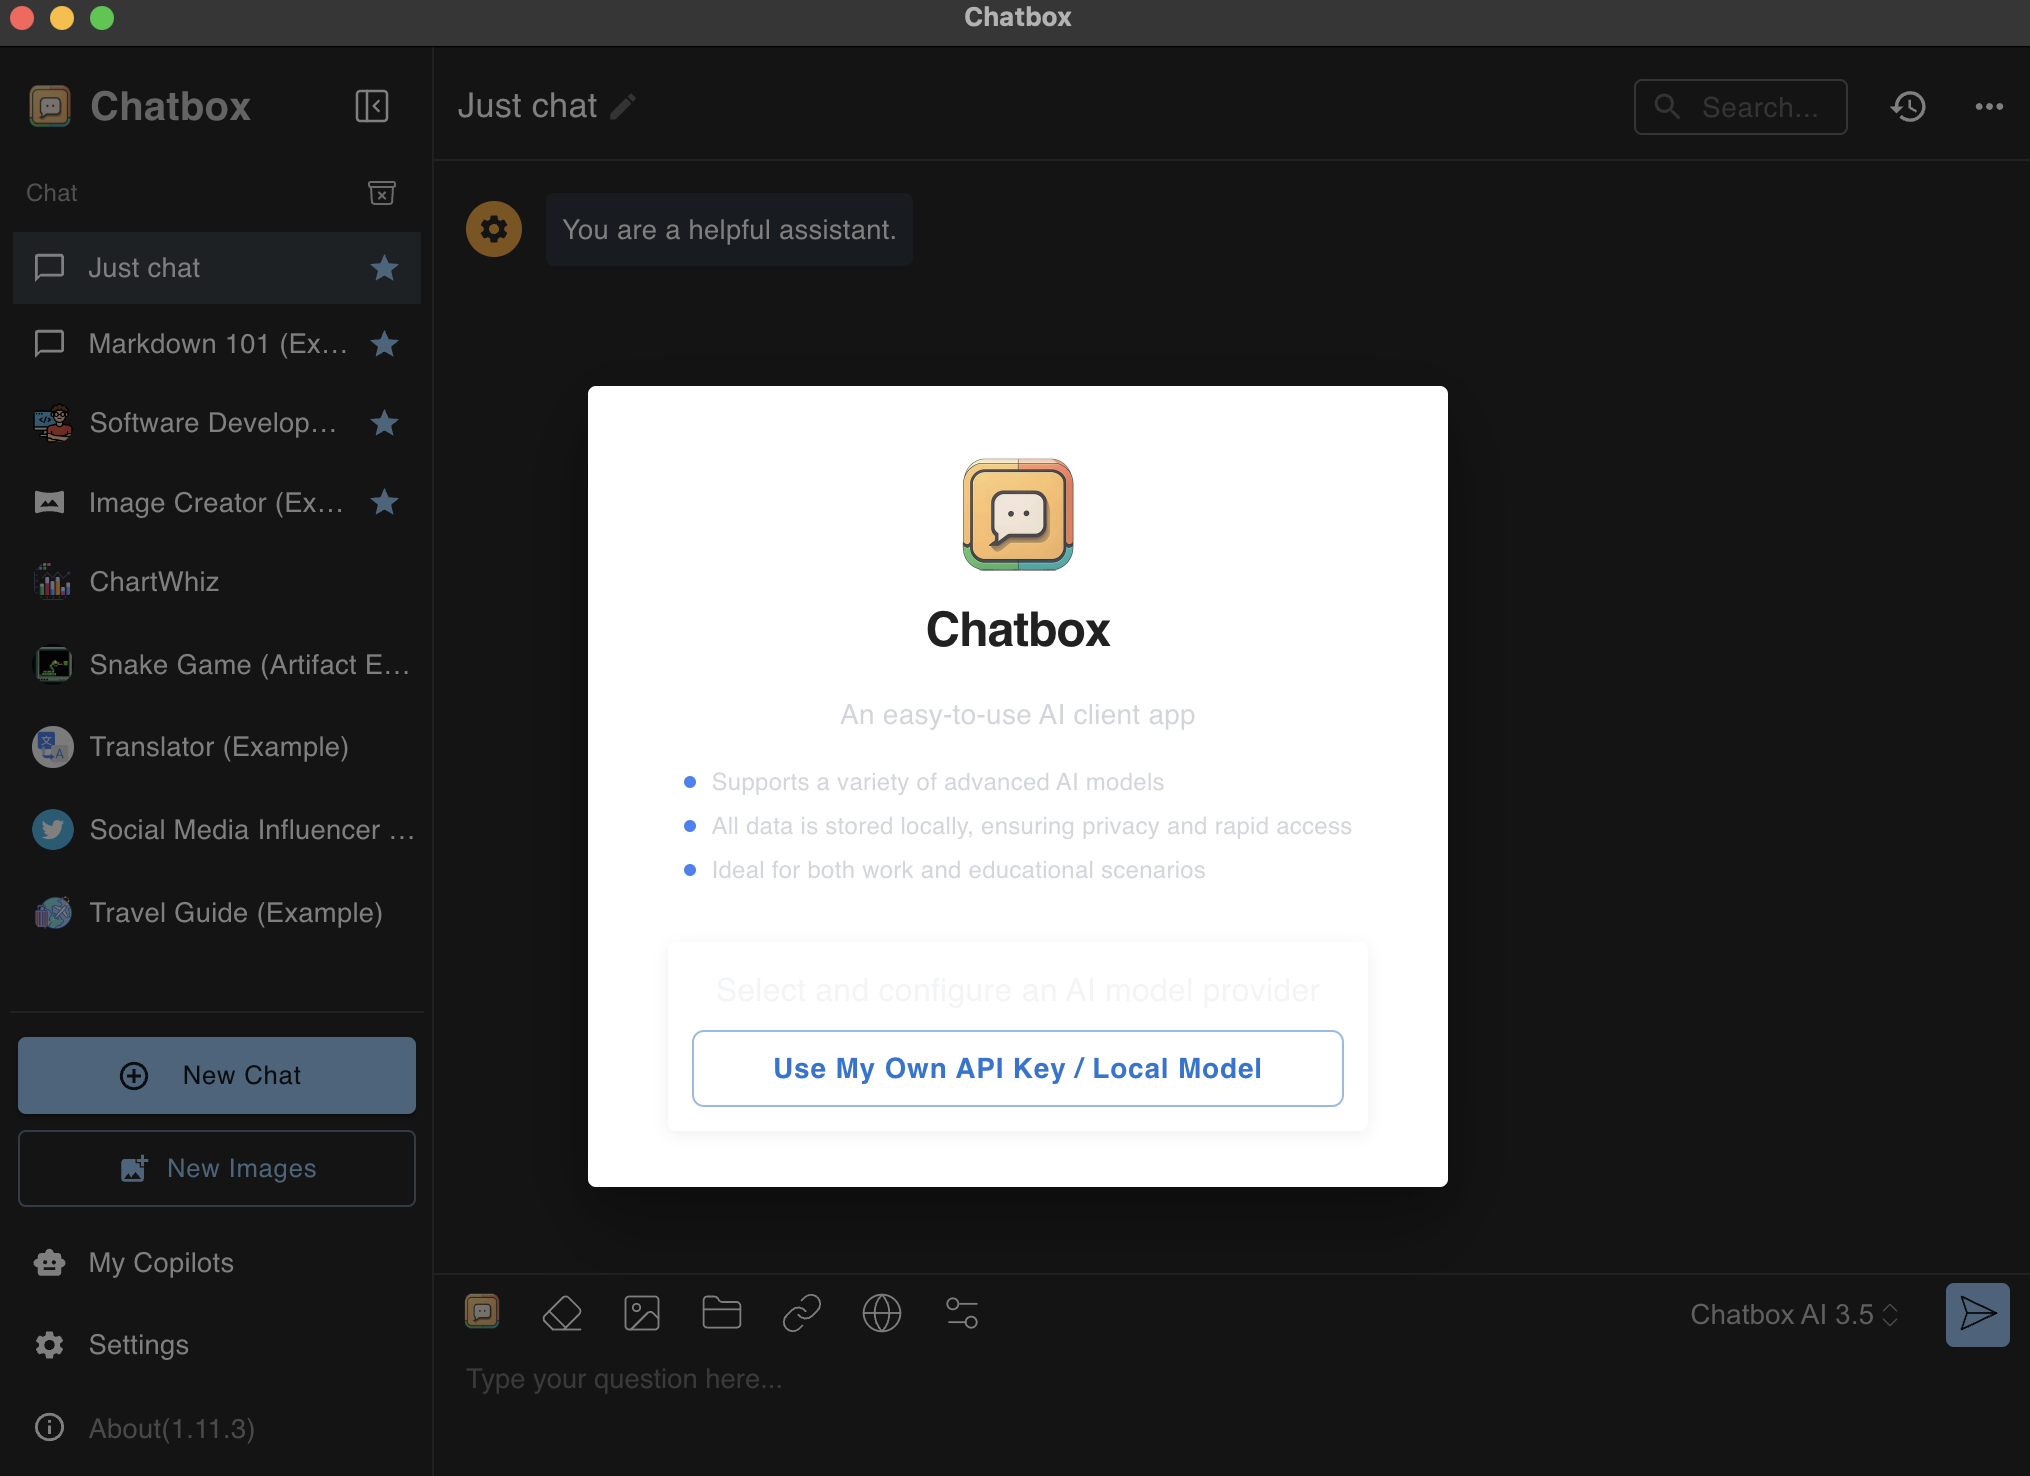
Launch the Chatbox app.
(You may need to right-click and select Open if macOS Gatekeeper complains, since it’s not from the App Store.)
When Chatbox opens, you’ll see a clean interface that looks a bit like a chat or messaging app. Chatbox can connect to various AI services (ChatGPT, Claude, etc.) but we want it to use our local model. We’ll configure that next.
Connecting Chatbox AI to Ollama
Now we’ll link Chatbox AI with Ollama and choose the DeepSeek-R1 model as our AI assistant.
-
Make sure that Ollama is running in the background. You can check this by opening http://localhost:11434 in your browser. If Ollama is active, the page will confirm that it's running and ready to serve model queries. If the page doesn’t load, start Ollama manually by running the following command in Terminal:
$ ollama serveDo not stop this command as long as you plan to use Chatbox AI. Ollama needs to stay running in the background to handle requests from the app.
-
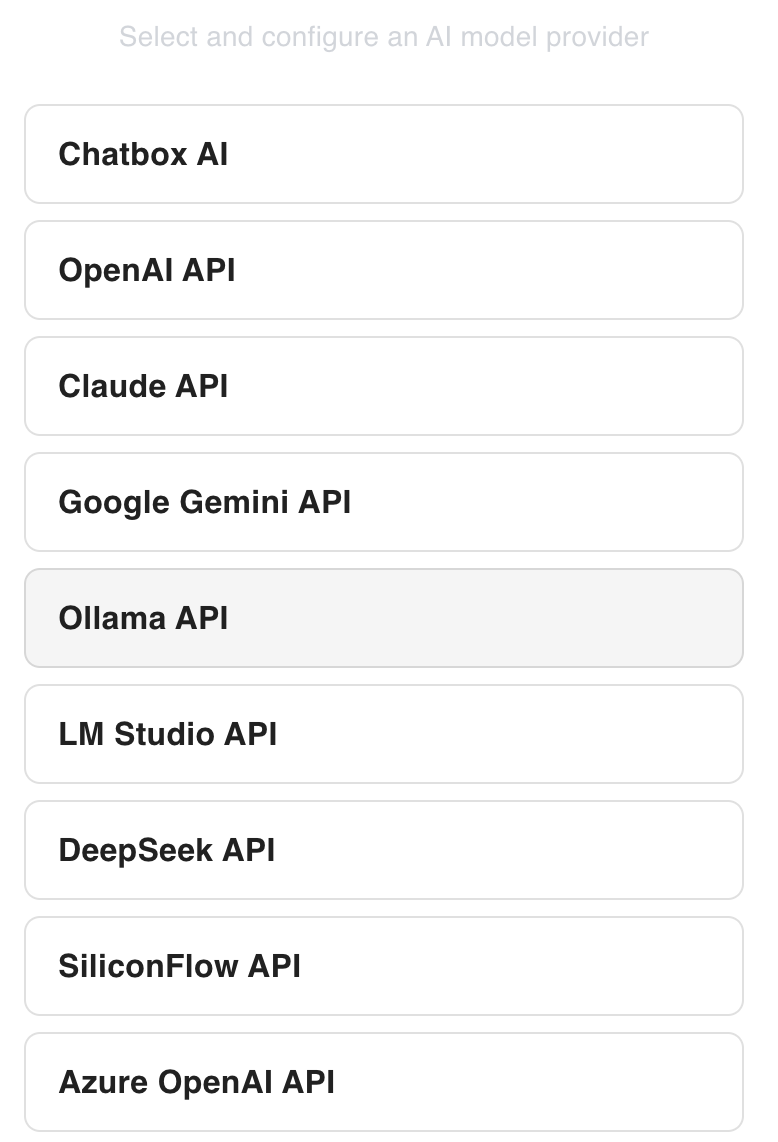
Click Use My Own API Key / Local Model.
-
Select Ollama API.
-
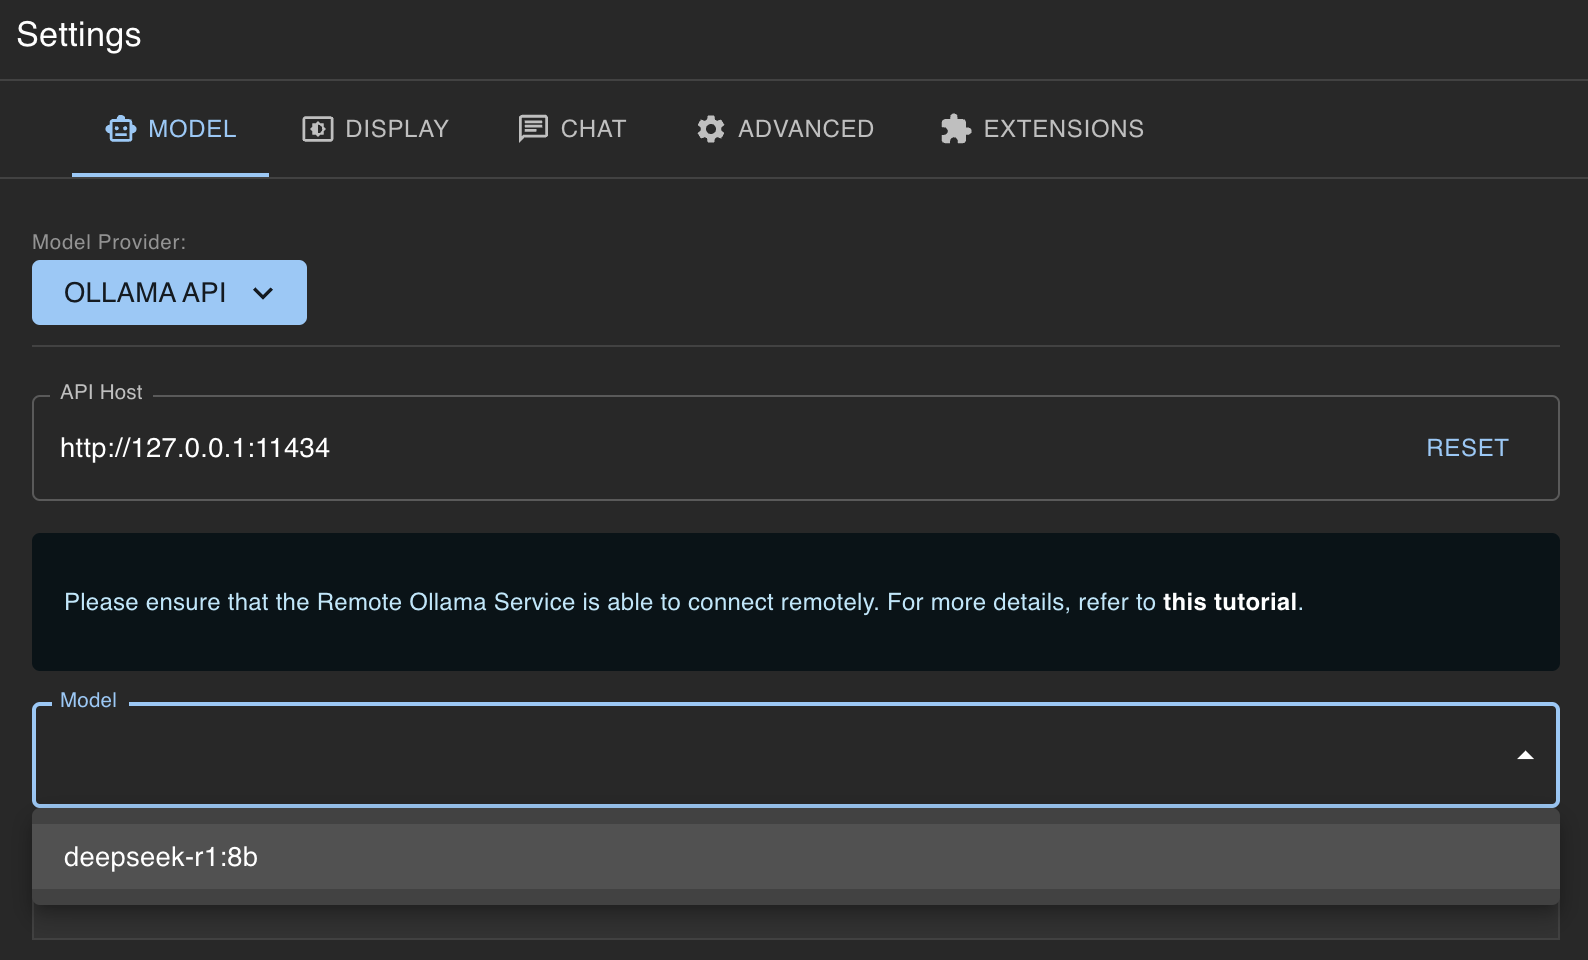
From the model list, select the installed DeepSeek-R1 model and click Save.
-
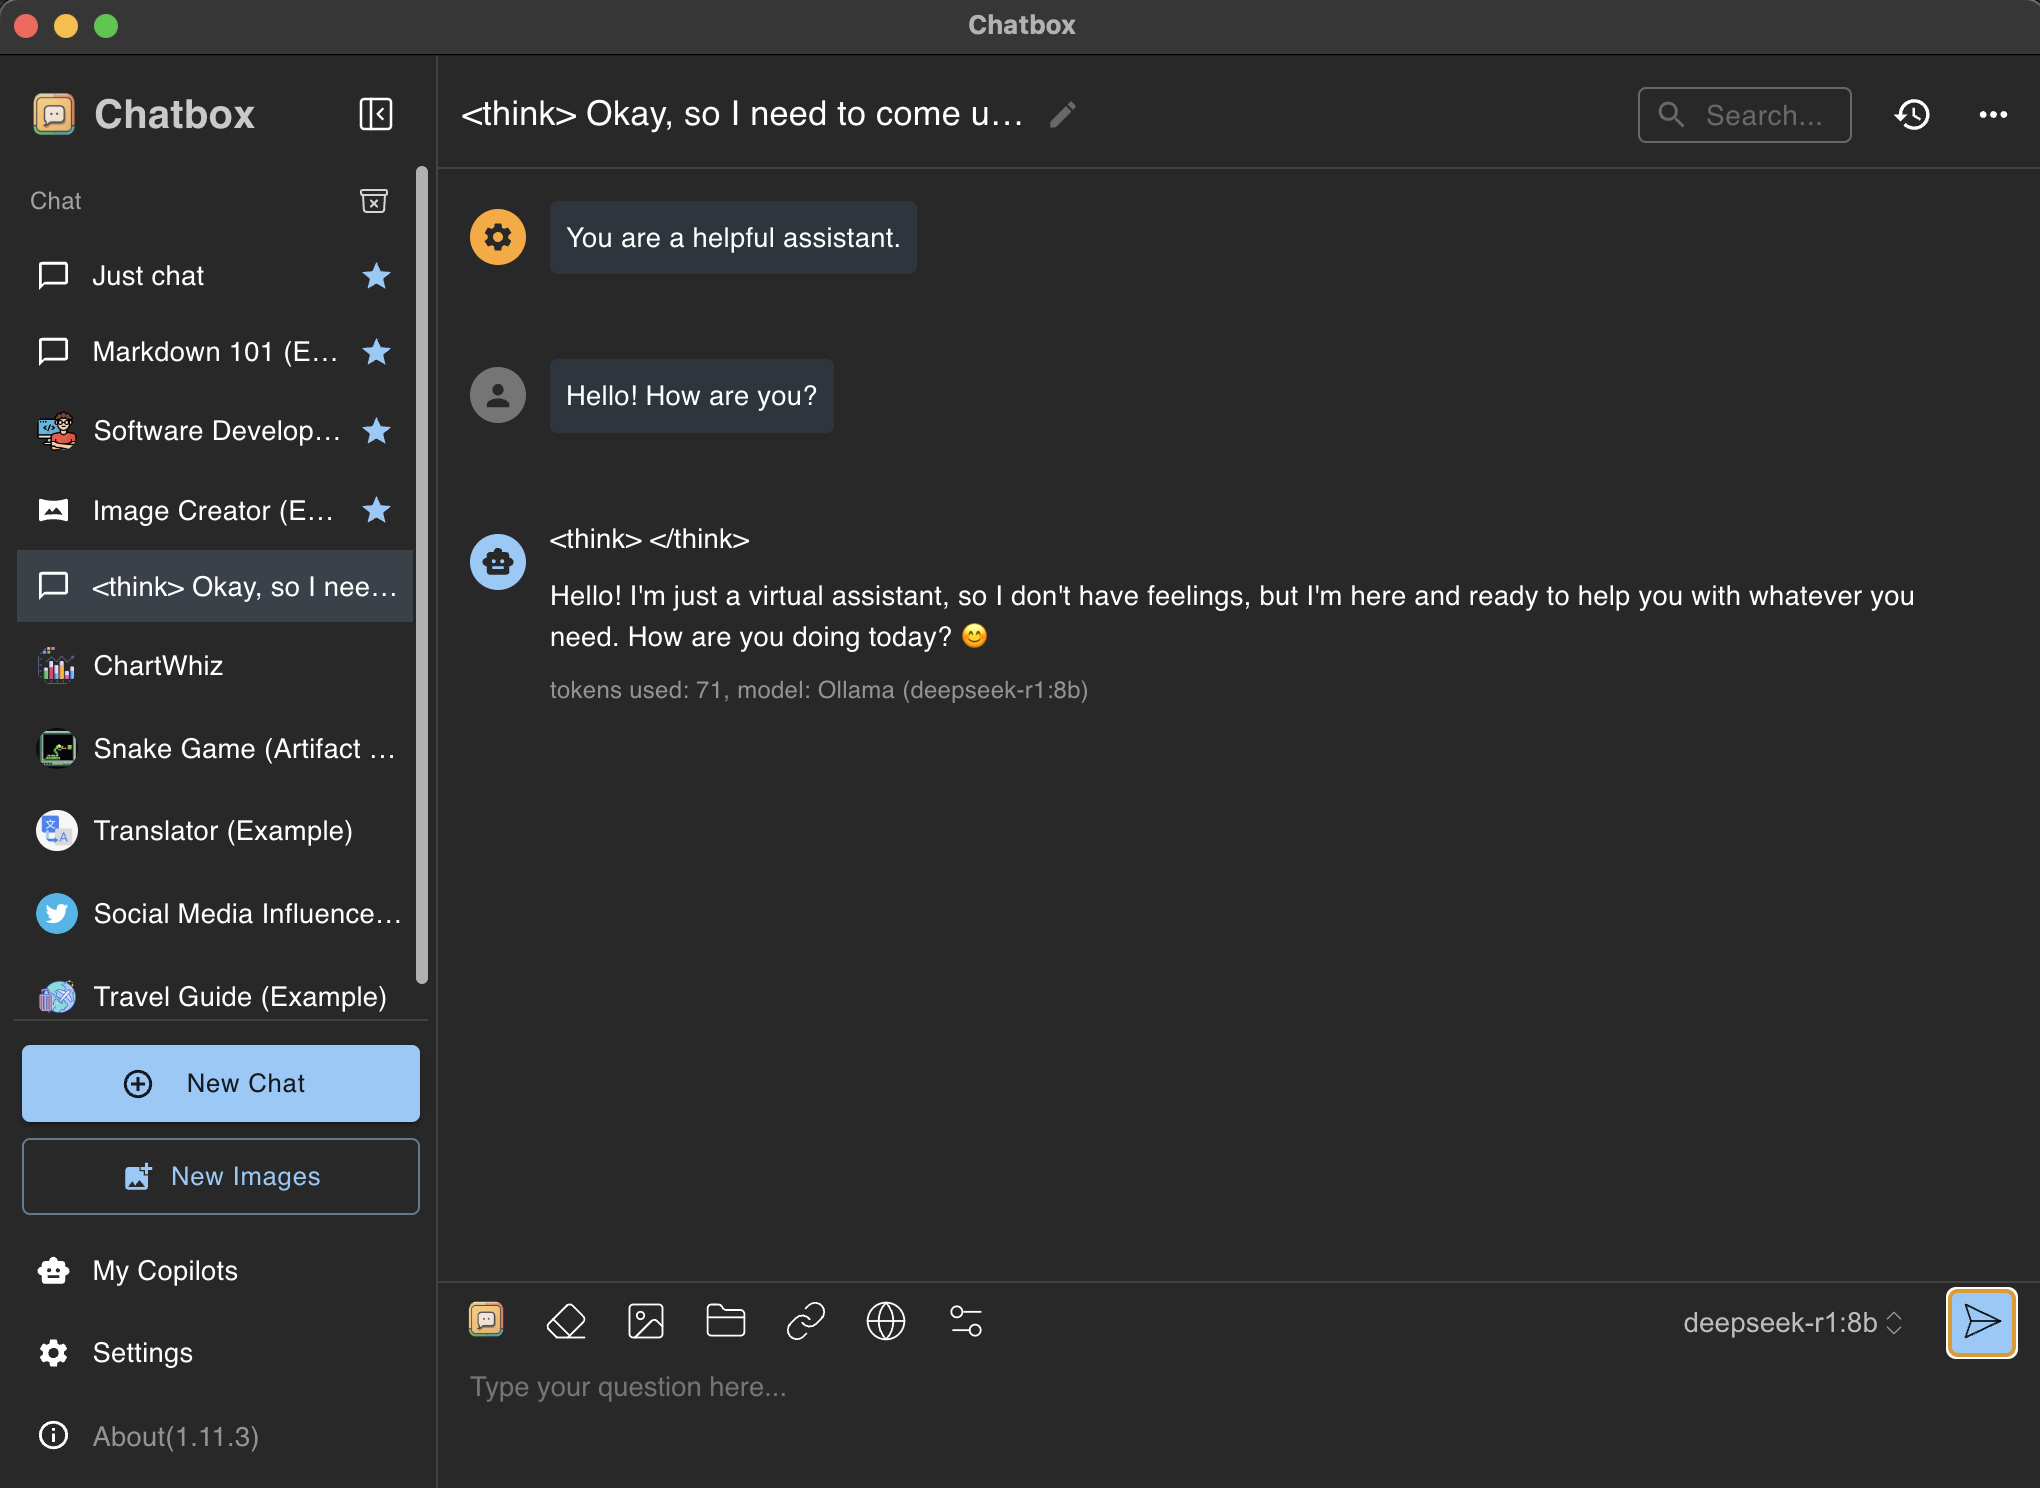
In the left navigation, click New Chat, then type your first question to start interacting with the model.
Notes on Ollama setup for Windows users
If you’re on Windows rather than Mac, the overall process is similar – with a few differences:
-
Installation on Windows: Download the OllamaSetup.exe from the official Ollama website. Run the installer (no admin rights required) and follow the prompts. This will install Ollama and may add it to your PATH. After installation, you might see an Ollama application (which can run as a background service with a tray icon).
-
Running the service: On Windows, you can start the Ollama server by simply launching the Ollama app, or by opening Command Prompt/Powershell and running
ollama serve. The Windows version of Ollama runs an HTTP server onlocalhost:11434. In some cases, the Windows app might auto-start the server on login; check your system tray for the Ollama icon. -
Pulling and running models: Use the same commands as on Mac. For example, running
ollama run deepseek-r1:8bin Powershell will download and start the model. -
GPU support: On Windows, Ollama supports NVIDIA GPUs out of the box (it includes the necessary CUDA libraries). If you have an AMD GPU, you’ll need to download an additional ROCm package from Ollama. Most Windows users with a discrete GPU (like an RTX card) will benefit from much faster generation. If you only have a CPU, expect performance similar to an Intel Mac of equivalent specs.
-
Memory: Ensure your Windows PC has sufficient RAM similar to the Mac guidelines (ideally 16GB+ for 7B models). Windows tends to use more baseline memory, so having extra headroom helps.
-
Chatbox on Windows: Chatbox AI is available for Windows as well, and the usage is almost identical. You’ll download an installer for Chatbox and configure it to point to Ollama.