API Documentation with Redocly CLI
You can use Redocly CLI to preview and build your API documentation locally. This approach lets you edit your OpenAPI files, see changes instantly, and generate a standalone HTML site for deployment.
Prerequisites
Before you begin, make sure Node.js v18 or later is installed on your computer.
👉 Note: You can download the latest version of Node.js from nodejs.org.
Installing Redocly CLI
-
Install Redocly CLI globally, run:
$ npm i -g @redocly/cli@latest -
Confirm the installation:
$ redocly --version
1.25.4
Creating your project
-
Create a new folder for your API documentation and navigate into it:
$ mkdir my-redocly-site
$ cd my-redocly-site -
Add your OpenAPI file (e.g.,
pet-store-openapi.json) to this folder.
You can either:
- Use your own OpenAPI definition, or
- Download a
Swagger Petstore JSON(right-click the link and choose Save Link as)
Preview the API documentation locally
Start a local development server:
$ redocly preview-docs pet-store-openapi.json
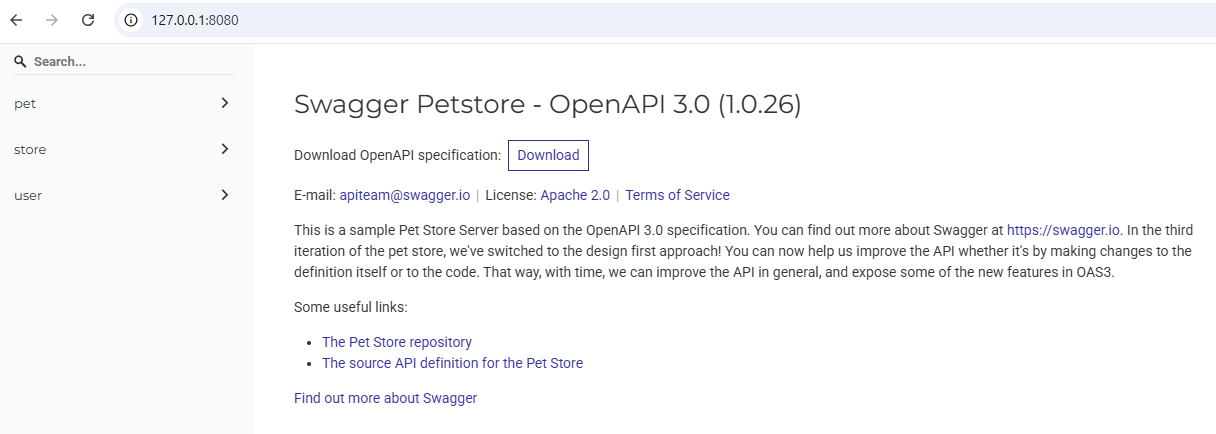
Using Redoc community edition.
Login with redocly login or use an enterprise license key to preview with the premium docs.
Preview server running at http://127.0.0.1:8080
Watching pet-store-openapi.json and all related resources for changes
Bundling...
Created a bundle for pet-store-openapi.json successfully
GET /: 11.85ms
GET /simplewebsocket.min.js: 3.549ms
GET /hot.js: 2.257ms
GET /openapi.json: 1.341ms
By default, the site runs at http://localhost:8080. To use a custom port:
$ redocly preview-docs -p 8888 pet-store-openapi.json
Example 1
Example 2
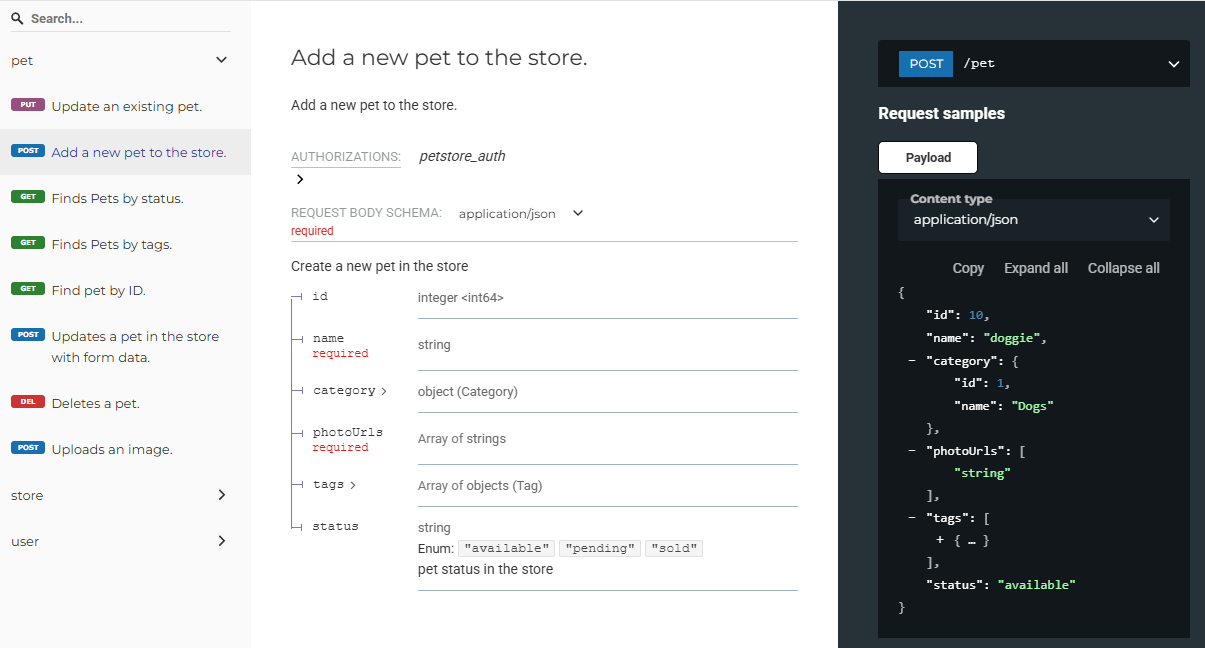
Edit and see live updates
As you make changes to your OpenAPI file, the local server refreshes automatically. You can instantly review your updates in the browser.
Build a static HTML file
When your documentation is ready, generate a standalone HTML file:
$ redocly build-docs pet-store-openapi.json
Found undefined and using theme.openapi options
Prerendering docs

🎉 bundled successfully in: redoc-static.html (232 KiB) [⏱ 3ms].
This creates a file called redoc-static.html, which you can host on any static web server.
Host your stati HTML file
Once you have the redoc-static.html file, you can host it using any static web hosting service. Here are a few options:
- GitHub Pages
Free and easy for public projects - Netlify
Drag-and-drop uploads or Git-based deployment - Vercel
Seamless GitHub integration - Internal servers
Apache, Nginx, or IIS - Cloud storage
S3, Azure Blob, or Google Cloud Storage
Example - GitHub pages
GitHub Pages is a free and widely used solution for hosting static files directly from your GitHub repository.
-
Go to github.com and create a GitHub repository, for example,
pet-store-openapi. -
Clone the repository and move the HTML file into it:
$ git clone https://github.com/your-username/pet-store-openapi.git
$ cd pet-store-openapi
$ mv ../redoc-static.html index.html
If you rename the file to
index.html, the GitHub Pages URL will load the site directly. -
Push the file to GitHub:
git add index.html
git commit -m "Add API documentation"
git push origin main -
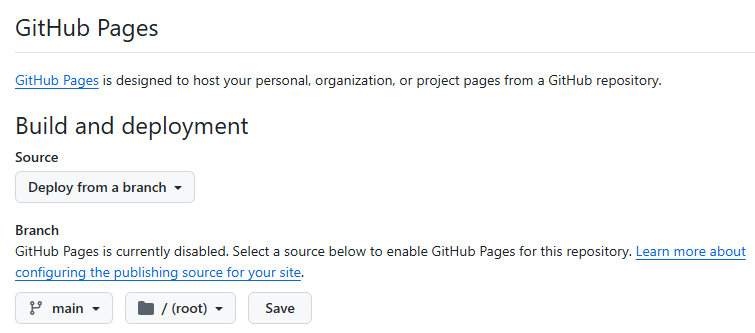
Enable GitHub Pages:
- Go to your repository on GitHub.
- Navigate to Settings > Pages.
- Select Deploy from a branch, choose
main, and set the folder (/or/docs). - Click Save to save the changes.
GitHub will generate a public URL like:
https://your-username.github.io/pet-store-openapi/